LLMs : Using Ollama with Podman and VS Code
You will find in this article, some information to use Ollama (LLMs) with Podman and VS Code.
Ollama
Ollama is a free and open-source tool used to run open LLMs (Large Language Models) locally on your system.
Ollama is designed to take advantage of Nvidia or AMD GPUs. If all you have is a good CPU, performance will be very slow.
You will find the supported GPU list in the official documentation.
You will need to have a good amount of memory to use it, i recommend you to have 32 Go.
You will find all available LLMs models in the official library.
Some examples of available models :
- llama3 : Meta Llama 3, a family of models developed by Meta Inc.
- codellama : Code Llama is a model for generating and discussing code, built on top of Llama 2.
- gemma2 : Google Gemma 2, featuring a brand new architecture designed for class leading performance and efficiency
- codegemma : CodeGemma is a collection of powerful, lightweight models that can perform a variety of coding tasks like fill-in-the-middle code completion, code generation, natural language understanding, mathematical reasoning, and instruction following.
- starcoder2 : StarCoder2 is the next generation of transparently trained open code LLMs
Useful commands :
ollama list: List modelsollama ps: List running modelsollama pull <model>: Pull a model from a registryollama show <model>: Display information for a modelollama run <model>: Run a modelollama rm <model>: Remove a model
Podman
Podman is a daemonless, open-source, Linux native tool designed to make it easy to find, run, build, share and deploy applications using Open Containers Initiative (OCI) Containers and Container Images.
Podman provides a command line interface (CLI) familiar to anyone who has used the Docker Container Engine.
Podman manages the entire container ecosystem which includes pods, containers, container images, and container volumes using the libpod library
Core concepts :
- Pods are groups of containers that run together and share the same resources, similar to Kubernetes pods.
- A container is an isolated environment where an application runs without affecting the rest of the system and without the system impacting the application..
- A container image is a static file with executable code that can create a container on a computing system. A container image is immutable—meaning it cannot be changed, and can be deployed consistently in any environment
- A container volume is a persistent storage that could be used by a container
Warning : To achieve optimal performance, i recommend using the GPU Passthrough.
VS Code
VS Code is a multi-platform source-code editor developed by Microsoft. VS Code can be extended via extensions available through a central repository.
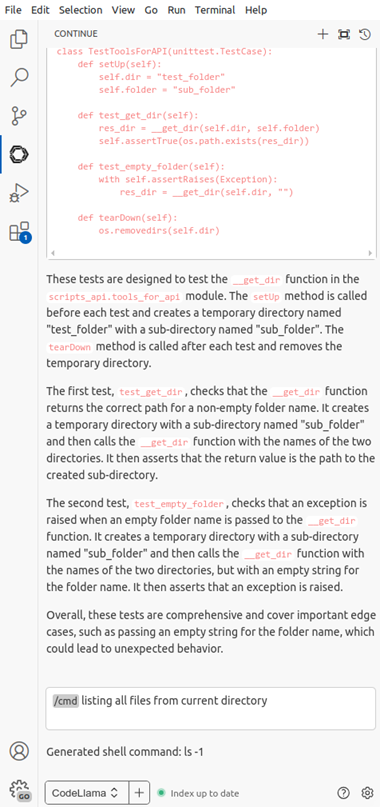
Continue is an open-source AI code assistant which allow to connect any models inside the IDE.
We will use the VS Code Continue extension to work with our Ollama configuration (local or remote). Additionally, you can leverage various providers and services, such as Open AI, Anthropic, Mistral, Gemini and others.
To Install the VS Code Continue extension
The steps are as follows :
- Open VS Code
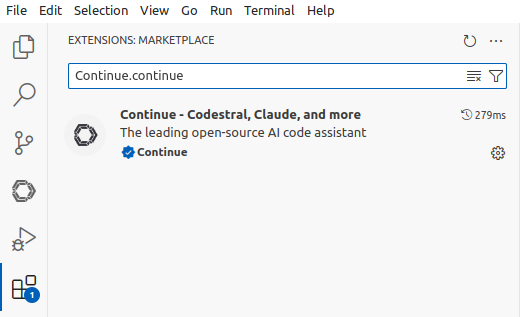
- Click on the extensions menu in the left panel
- Filter the result with the term
Continue.continue
- Install the extension named “Continue - Codestral, Claude, and more”
- Select the Continue icon in the left panel
To configure the VS Code Continue extension
You can access at the config.json file in two different ways.
First way by the VS Code interface :
- Open VS Code
- Click on the Continue menu in the left panel
- Click on the Configure Continue option on the bottom right of the new left panel
Second way by the VS Code command :
- Go to VS Code
- Open the command Palette with the combination
Ctrl + Shift + p - Use the search term
continue optionand select theContinue : open config.jsonoption
Local configuration
Setting up Ollama locally
We will use the following parameters :
- Ollama Model :
llama3:8b
To install and use Ollama :
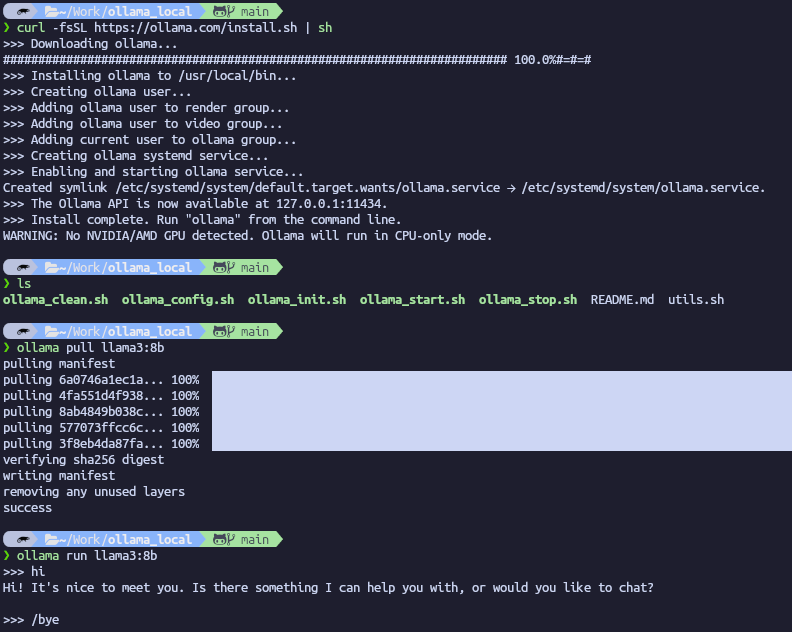
- Go to the official website and download the desired version (Linux, Windows or Mac).
- Follow the instruction to install the tool
- Open a terminal
- Execute the command :
Ollama pull llama3:8b(Or choose the desired model from the Ollama library) - Execute the command :
Ollama run llama3:8b
Note : If you don’t have a GPU, then Ollama will display the following warning No NVIDIA/AMD GPU detected. Ollama will run in CPU-only mode.
Note : use the command /bye to end the prompt
VS Code Continue extension configuration
Example of VS Code Continue extension configuration to use a local Ollama server :
 1{
 2  "models": [
 3    {
 4      "title": "CodeLlama",
 5      "provider" : "ollama",
 6      "model" : "codellama:7b",
 7    },
 8    {
 9      "title": "Llama3",
10      "provider" : "ollama",
11      "model" : "llama3:8b",
12    }
13  ],
14  "tabAutocompleteModel": {
15    "title": "Starcoder",
16    "provider": "ollama",
17    "model": "starcoder2:3b",
18  },
19  "embeddingsProvider": {
20    "title": "Nomic",
21    "provider": "ollama",
22    "model": "nomic-embed-text",
23  }
24}
Remote configuration
Setting up Ollama remotely (with Podman)
Purpose : To deploy Ollama anywhere and in particular on a recent computer with a good GPU, allowing it to be used from any computer connected to the same network.
We will use the following parameters :
- Pod name :
llms-pod - Container name :
llms-pod-ollama - Ollama model :
llama3:8b - Default port number :
11434
The steps are as follows :
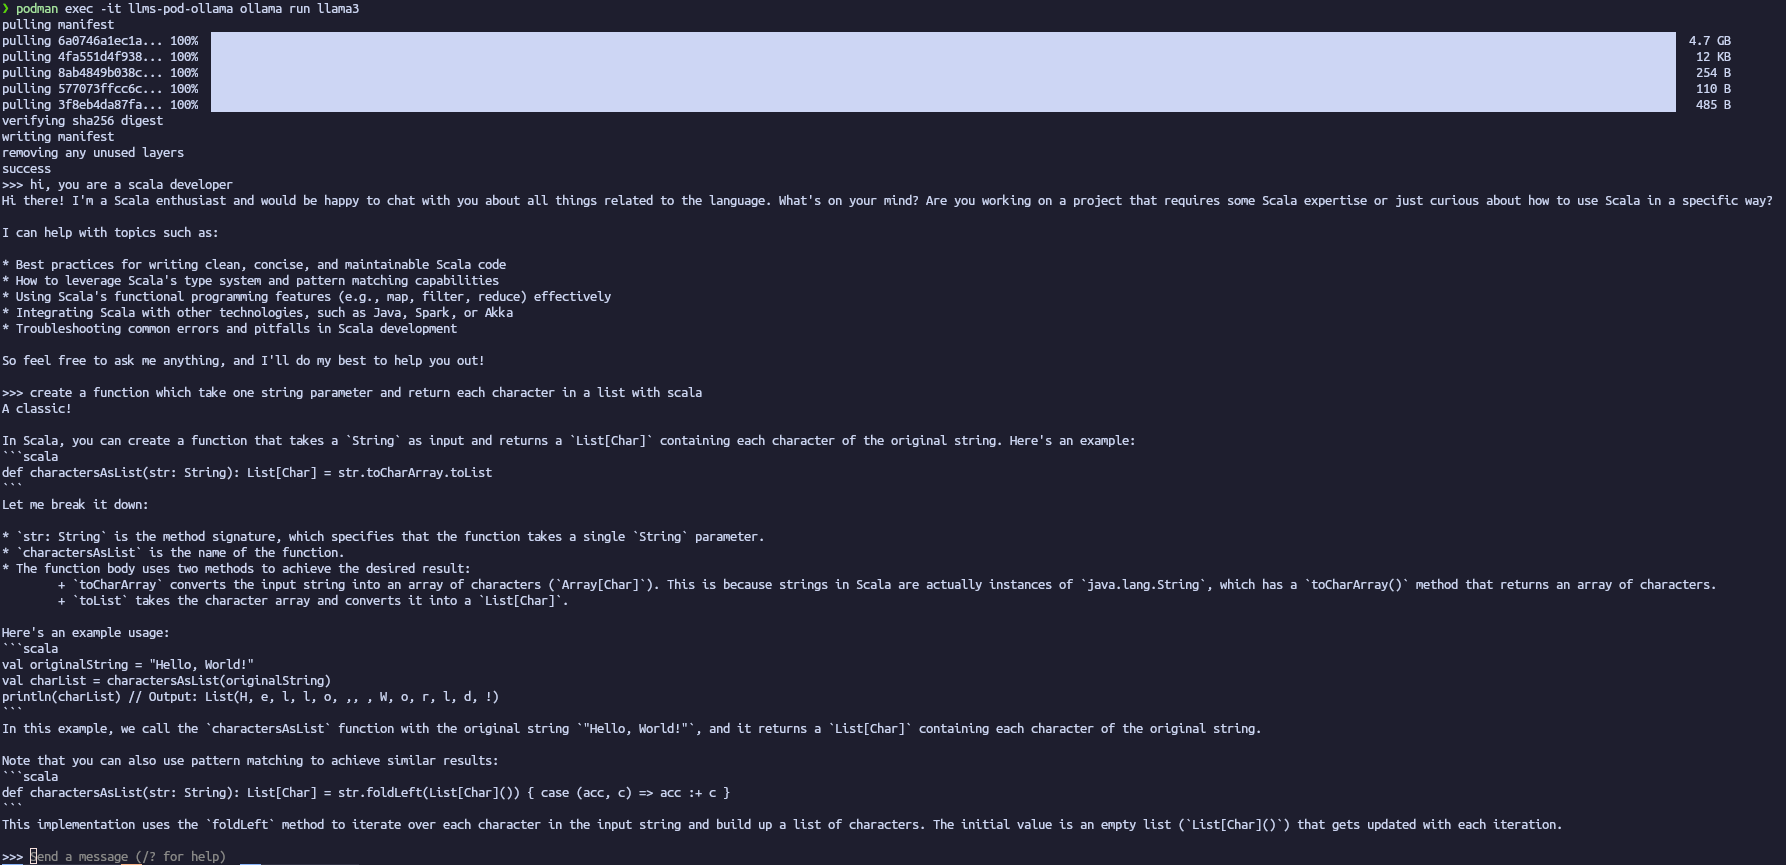
- Create a pod with specific Port (API) :
podman pod create --name llms-pod -p 11434:11434 - Create a container in the created pod :
podman run -dt --pod llms-pod --name llms-pod-ollama docker.io/ollama/ollama:latest - Pull a specific model :
podman exec -it llms-pod-ollama ollama pull llama3:8b - Run a specific model :
podman exec -it llms-pod-ollama ollama run llama3:8b`
Note : You will find some scripts to manage the pod more easily in this github repo.
VS Code Continue extension configuration
Example of VS Code Continue extension configuration to use a remote Ollama server :
 1{
 2  "models": [
 3    {
 4      "title": "CodeLlama",
 5      "provider" : "ollama",
 6      "model" : "codellama:7b",
 7      "apiBase": "http://localhost:11434"
 8    },
 9    {
10      "title": "Llama3",
11      "provider" : "ollama",
12      "model" : "llama3:8b",
13      "apiBase": "http://localhost:11434"
14    }
15  ],
16  "tabAutocompleteModel": {
17    "title": "Starcoder",
18    "provider": "ollama",
19    "model": "starcoder2:3b",
20    "apiBase": "http://localhost:11434"
21  },
22  "embeddingsProvider": {
23    "title": "Nomic",
24    "provider": "ollama",
25    "model": "nomic-embed-text",
26    "apiBase": "http://localhost:11434"
27  }
28}
Conclusion
It is very easy to use LLMs locally with a particular focus on privacy concerns (personal data, sensitive data, etc.) or those who cannot afford commercial offerings, with Ollama (available on Linux, Windows and Mac) and VS Code. However, you really need to have a recent GPU and enough memory to be able to use it effectively.


